
Today I want to share with you super fun double embossing technique which is something that I done with my old dies a long time ago, but haven’t really re-visited the technique.
It is a great way to stretch some of your Close To My Heart Thin Cuts & is sort of a stamping technique as you stamp with your Close To My Heart Thin Cuts – yes you read that correctly, you can stamp the outline with your die. It takes a bit of practice & I have not perfected it by a long shot. But hey that is half the fun of crafting, learning & sharing what works for you.
FYI: I found a blog post from Jennifer McGuire who does this soooooo much better, than me. She calls the technique something different to what I was first shown many years ago, but it is still the same idea.
Now this technique I found looks better with the word Thin Cuts & the snowflakes, but you can try it on others or any other die cut you own. Let me show you how.
Material:
- Close To My Heart Thin Cuts preferably one of the words or the snowflakes..
- VersaMark™ Ink Pad
- Super Fine Embossing Powders – any choice of colour
- Die Cutting machine (Big Shot or Cuttlebug)
- Rubber Embossing Mat – I used the Tan Rubber Mat, but you can try Rubber Gasket or a Silicon Baking try.
- Cardstock your choice of colour.
How To
- Set up your Die cutting machine for embossing with die, for me it is a B plates & the Rubber Embossing Mat, cardstock, die & final B Plate. There are lots of fab instructions out there if you are not sure how to set up your machine.
- Ink over only the cutting edges (the raised parts) of your chosen Close To My Heart Thin Cuts with the VersaMark™ Ink Pad & place carefully onto your cardstock that you set up already. Be careful not to move your die or you will get ink where you do not want it.
- Run the dies through your Die Cutting machine &carefully remove the die & quickly cover with your chosen Super Fine Embossing Powder. Brush away any excess & heat emboss.
- You will see that the heat embossing with appear in the outline of your die.
For my first card I tried the Snowflake Thin Cuts with Ranger™ White Super Fine Embossing Powder. I did accidently slightly moved the die before embossing, but for the first go in a long time, I loved the result. I also added some Clear Shimmer Brush to the raised parts of the snowflake.

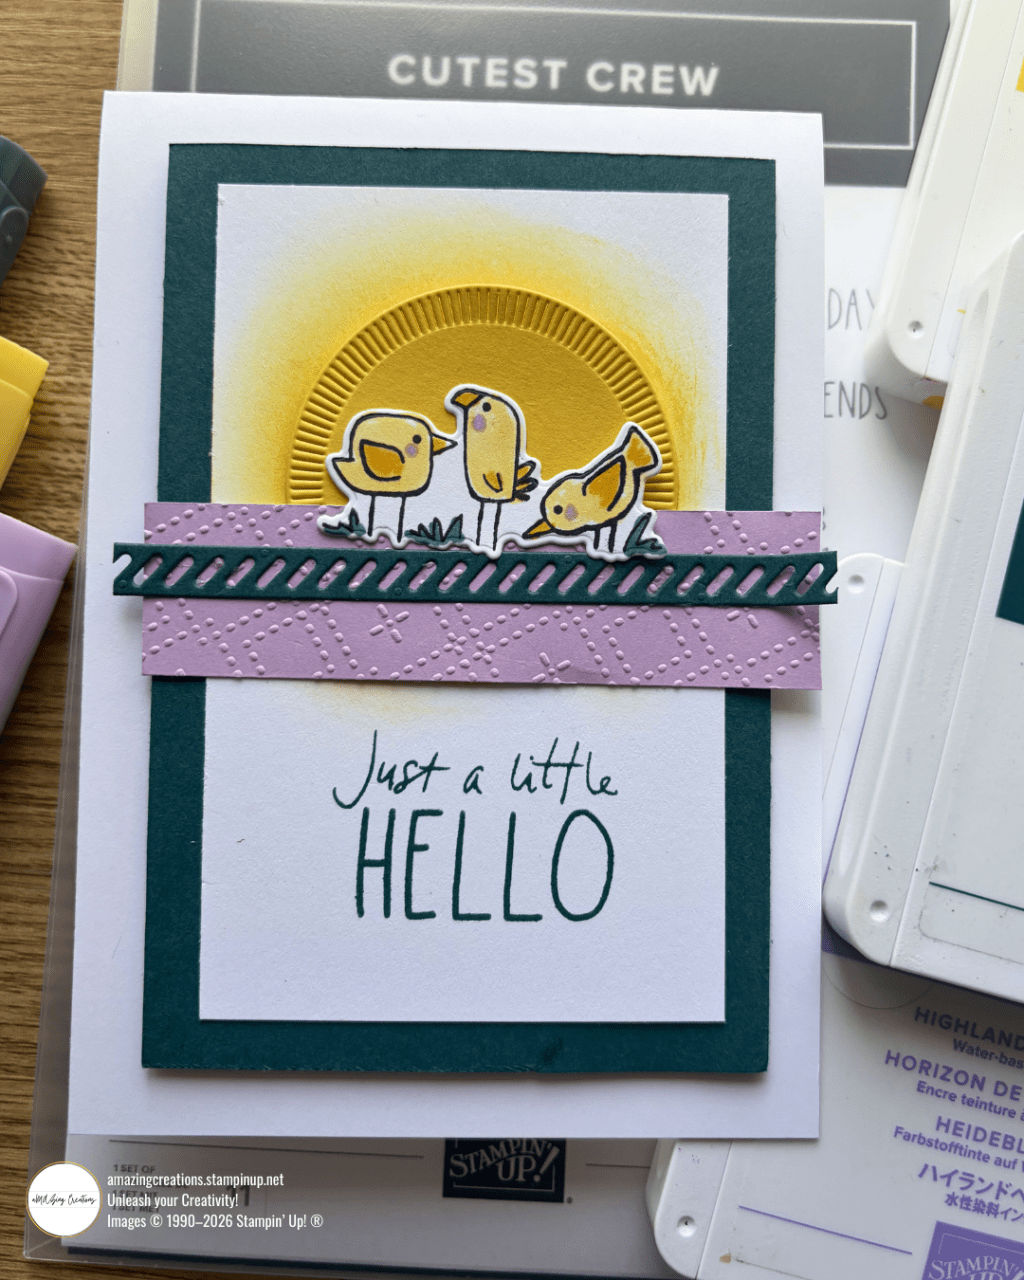
For my Second card I tried the technique again with one of the hello word thin cuts, I loved the combo of the White Daisy Cardstock with the Ranger™ Princess Gold Embossing Powder. I did find I needed to use a small dry paint brush to wipe off any excess embossing powder, but it worked out ok. Again I added some Clear Shimmer Brush to the raised parts of the hello word.

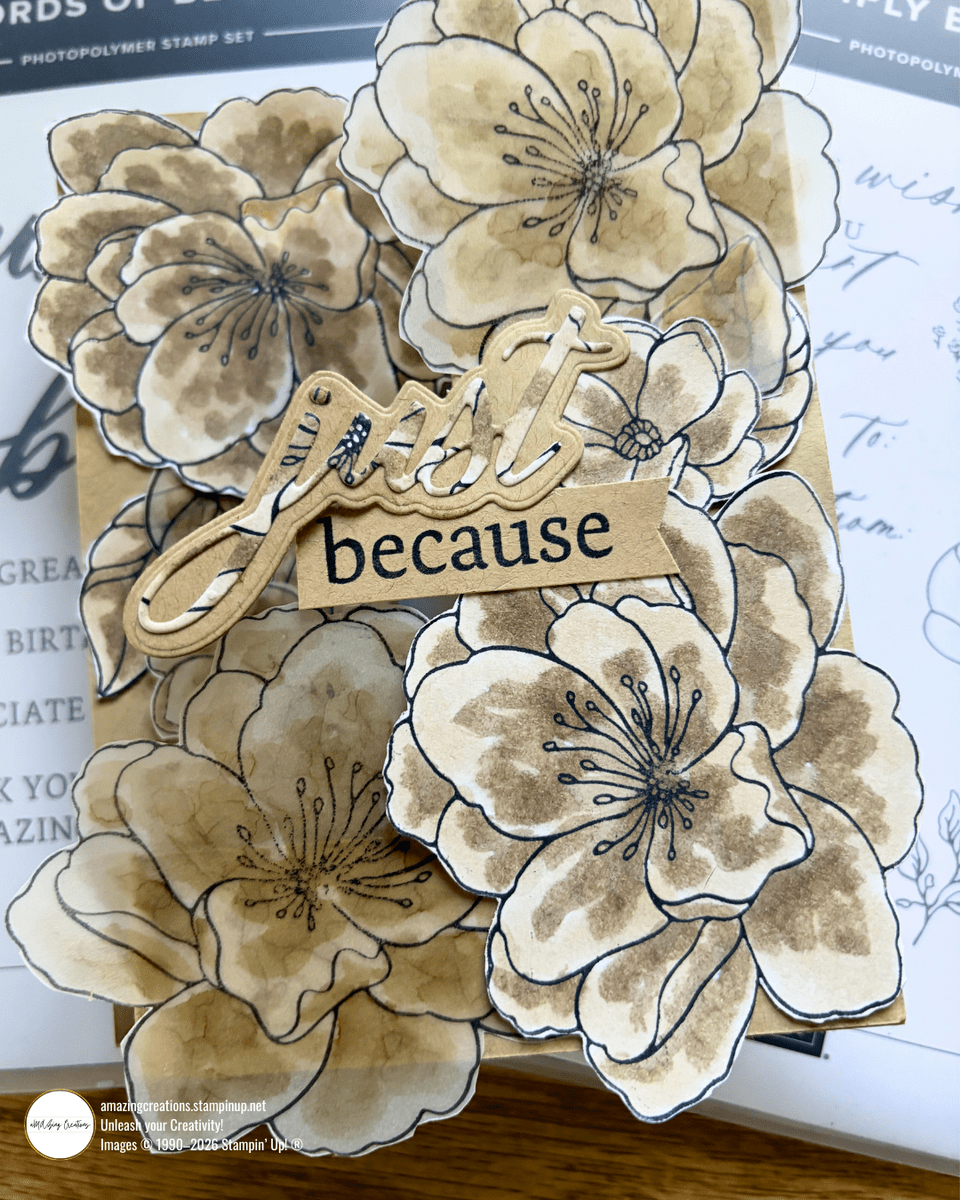
And for my final card I decided to try the Gift Thin Cut – now this example showed what happened when I wasn’t careful about applying the ink only to the raised areas – in this case the circles & outline. But you know what I embraced the mistake – it was an opportunity to be a bit more creative & well I didn’t place the image very straight on the card & it was too close to the edge to cut the cardstock smaller, so I cut this one out. I make these mistakes all the time & then the card goes into a totally different direction to what I had envisioned.

And while I am on the subject of Close To My Heart Thin Cuts did you know that they have released four new Thin Cuts that match existing stamps in the Annual Catalogue? The new ones are
I cannot wait to get mine & try some new ideas that I have. While these new thin cuts are not the best for this technique, you never know what you could create with them?
I hope you try this technique and have fun with it and thanks so much for taking the time to find out more about the double embossing technique…see you soon.
Maz

What do you think?