Well I have another fab idea & technique to share with you so that when you go & get your 25% saving on the Close To My Heart Thin Cuts you will have lots of ideas on how to use them and this technique shows you how to create hidden inlay die cuts which are almost invisible – until you take a closer look.
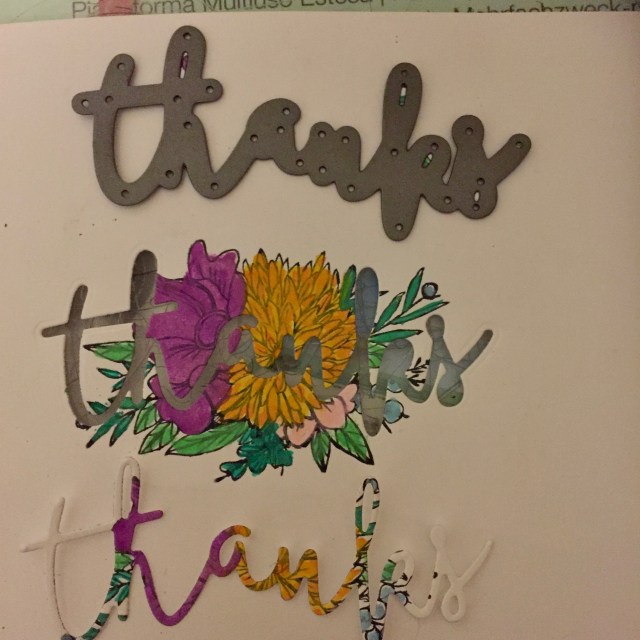
Die cut inlay is where you die cut shapes and glue the pieces back together like a puzzle for a smooth look.
Material:
– Close To My Heart Thin Cuts I used the the Thanks out of the Hello & Thanks Thin Cut Set
– Die Cutting Machine of your Choice
– And multiple colours of Cardstock
How To
1. Stamp your image & colour in with your choice of colour. I used the In Bloom stamp set and Watercolours
2. Cut your Close To My Heart Thin cut as you normally would & save the little negative cut out left over pieces.
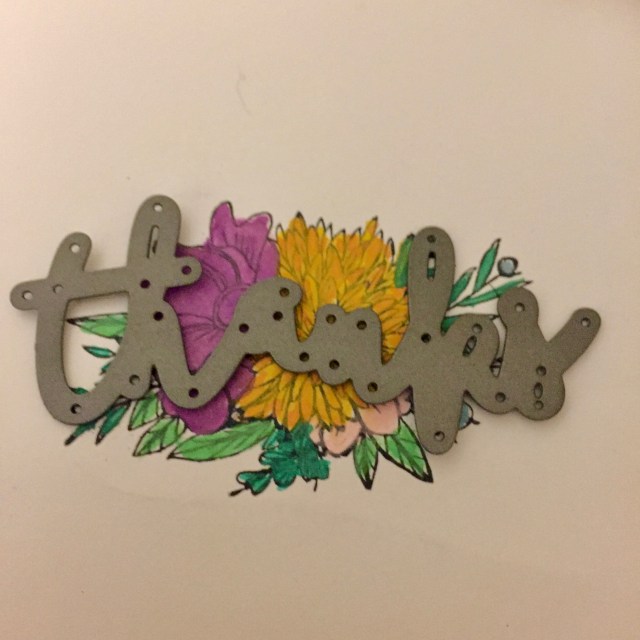
3. Re-cut the same die out of another colour of cardstock – this is optional & if you want to build your word up into a 3D look. I started to do this look but changed it right at the end for a more flush look.
4. Attach your card to a base and stick in in the left over negative cut out pieces into place.
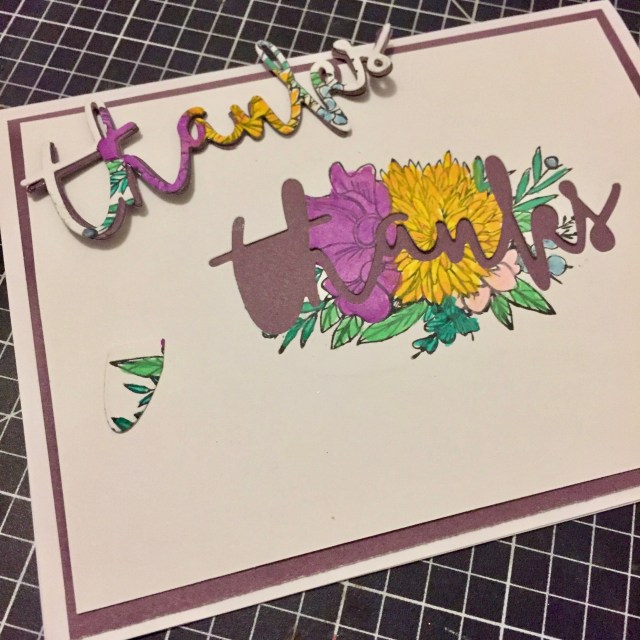
5. Stick the word into place
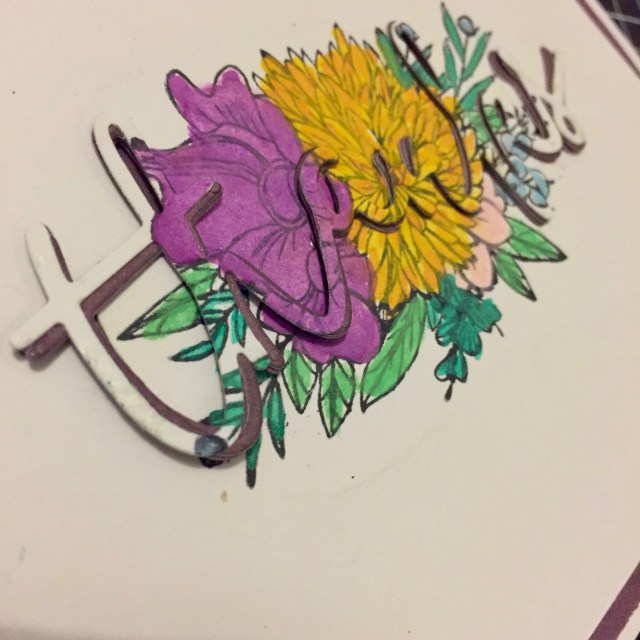
6. Optional: To make sure that the word is flush you can run your card through your embossing machine – just protect your card from the marks that could be on your plate – I got some lovely marks that had to be hidden!
What I love
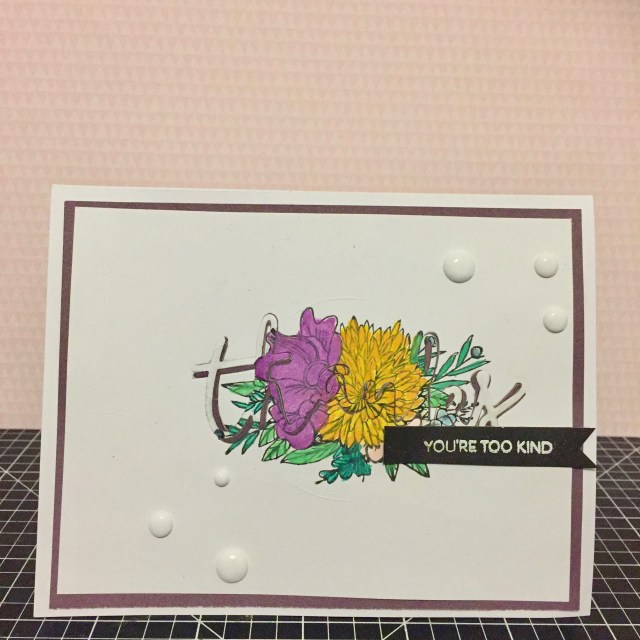
How the word looks just fab by itself with the stamped, coloured background – I could use it like that if I really wanted too! In fact I am very tempted to make another to do just that!
I hope you try this technique and have fun with it and thanks so much for taking the time to find out more about the Hidden Inlay Die Cutting technique…see you soon.
Maz

Leave a reply to patriciamanhire Cancel reply